Wednesday, May 6, 2015

Final Project: My Boston Tea Party Ship


This is the the photo that I used while creating my ship.

I saws this photo of inside the ship, so that's where my "red" wall underneath the deck came from.


I had to plot my land on the water...


Big enough to fit my whole "life size" Boston Tea Party Ship.


I figured out the size of the ship is about 28 x 7 (block wise) and about 14 blocks high.  I estimated off of other classmates, as well as finding the very rough dimensions online.


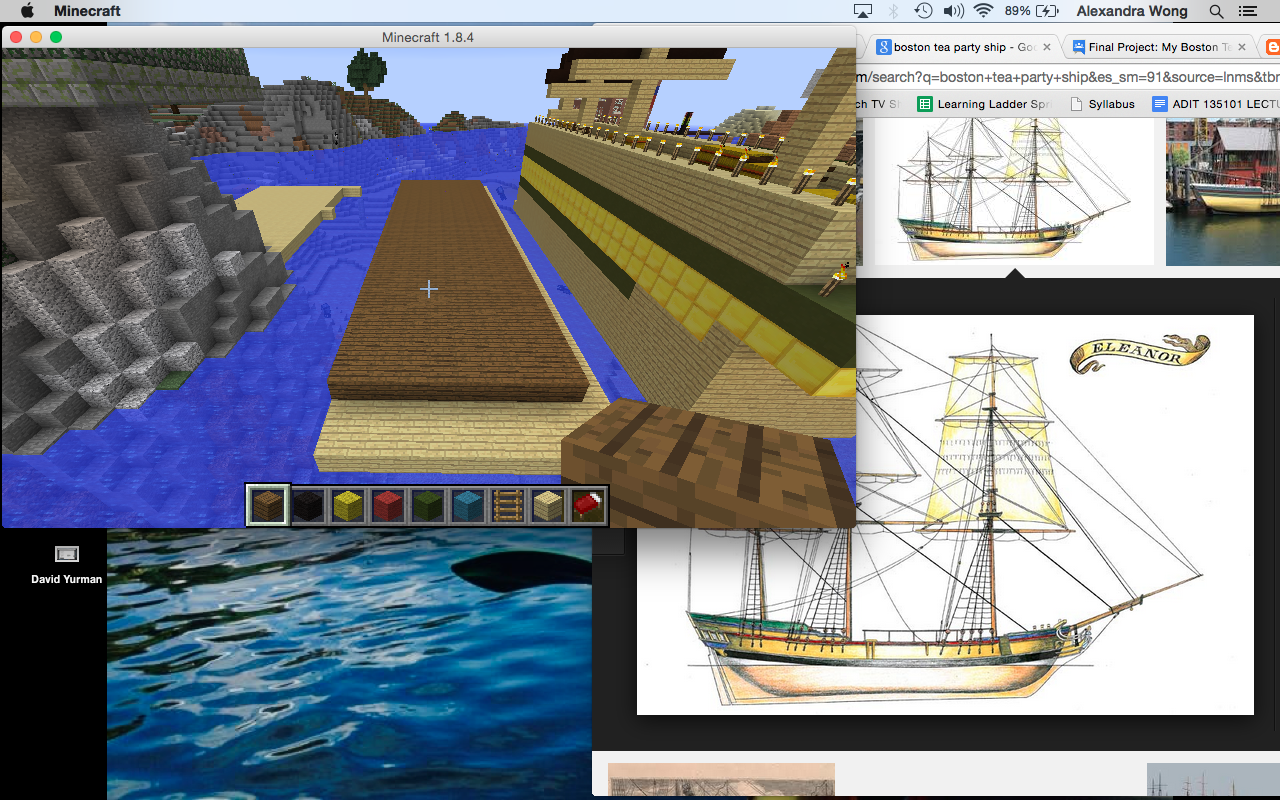
Here i start to build the base of the ship (the brownish color that is usually below sea level)


Almost finished one side of the ship, with the layering of colors.


Here I finished one side...leaving an opening in the green layer to give it more of a "U" shape.


Then the other side of the ship.


Adding a bow(?) to the ship that extends out


I then built the rest of the top deck


I began building my masts - the larger yellow one can be seen in this photo.


Then I started building the others


Underneath I created a little room, maybe a bathroom or a rest area for the crew.


There is a little pop-up on the deck...that door leads under the ship


I started adding all the tea creates on deck, along with random other stuff that was thrown off the ship.


Added in some windows at the end of the ship


Here is the "red" inspired wall from the photo at the top of the blog.


A captains cove area so they can steer.


A more taken back look at the captains cove - right next to the rest/bathroom area!


This is apart of my Final Project Boston Tea Party. I had to build a replica of the Boston Tea Party Ship - inside and out. It was a tough to get the "U" shape of the boat, but the block look worked well. I used many different colors, since the outside of the ship has some brown, black, green, yellow, reds, and blues. the inside was difficult to replicate because there aren't that many pictures of what it used to be. The modern ship sitting outside the Childrens Museum in Boston is modern, and has a restaurant inside. It is a final exercise from the Immersive Education course that I am taking at Boston College. The course is called Discovering Computer Graphics. For details, visit the immersive BC portal at http://immersiveeducation.org/@/bc

Thursday, April 30, 2015

Chris and Jeff!


Jeff and Chris are from Boston College, representing us in professional gaming.  They flew out to California, and played up until the semi-finals.  I loved the way they came out - a ton of excitement and with the well known BC Cheer.  Thanks Jeff and Chris for representing us well! Go Eagles!!

Final Project Group State House


We started to build the walls and the windows, making sure the spacing was as close as possible.  There are 11 windows in the State House alone the long side (39 blocks)


Here is a side view of all the windows, and the walkway that leads to the State House (perhaps our version of the Freedom Trail?)


Another view of the building and walls.  You can see that swirly's...we needed lots of daylight to make sure we could see what we were doing.  In this picture, you can also see the balcony that is pictured on the State House.


We began to build up with the tower, trying to make it look as it actually does in real life - with the color and the windows.


Another side view of our building, slowly making changes and adjustments to the scale.


A full side view of the State House that we are still tweaking. We realized that the windows didn't match with the other side, we together we decided what we should do.


Danny decided to build a little stop light outside our State House.


Inside, we covered it with a blanket of "brown carpet" instead of leaving it the dark brown that it was.


This is final image of the State House we built as a team.  You can see the stone sidewalk surrounding the building, along with Danny's stop light, and the make shift American Flag hanging off the side of the building.  The lighting is a little dark, but it you can still see all the parts I described above.

This is apart of my Final Project Group State House. As a class, over a two week period, we built the Old State House in Boston. We needed to figure out dimensions to make it to scale. I think we did a good job with that, not counting in the tower at the end. As a group we worked very well together, and we got the job done (that we did alone in 4+ hours) in about an hour and a half. A side by side picture next to the real State House looks very comparable. It is a final exercise from the Immersive Education course that I am taking at Boston College. The course is called Discovering Computer Graphics. For details, visit the immersive BC portal at http://immersiveeducation.org/@/bc

Final Project: Local Old Boston Statehouse

I started building my Old State House in Boston - the 12 x 39 blocks squared are the units I used from class.


I had to clear the land


An aerial view of my land


The 39x12 dimension layout


Started building my walls up


Some more...


And more...


Finally done!


Started on the front windows. I tried to capture the sandstone colored window pane 


Started building the grey roof


And the tower on top on the roof


Next the windows on the side of the buildings. 


All the windows, and the door with the steps leading inside.


The picture that I used to create my minecraft replica. 


This is apart of my Final Project. I had to build a structure in MineCraft that looked like the Old State House in Boston. I used the brick for the entire building, then the stone, some sandstone, and clear glass for the rest of the building. It took a long time to build up all the walls, but once that was done, it wasn't' too difficult to make it look comparable to the actual building. It is a final exercise from the Immersive Education course that I am taking at Boston College. The course is called Discovering Computer Graphics. For details, visit the immersive BC portal at http://immersiveeducation.org/@/bc


Thursday, April 23, 2015

My Final Area

http://minecraft.gamepedia.com/Coordinates?cookieSetup=true. This is the link that helps with MineCraft coordinates.

The groups coordinates are approximately -500/111/730

Dimensions are 12 blocks x 39 blocks


Class 12: How 3D Computer Graphics Work


This YouTube video that we just watched explains how 3D graphics work.  The video itself was only five minutes, but taught the basics about the shapes, and the importance of lighting while making a 3D graphic.  It’s interesting to see how these two aspects are used the way they are because I never thought that lighting and shapes could be the basic elements to 3D graphics. I enjoyed the video because it was succinct, and to the point about two elements only. This video address a few other topics as well such as: 3D Geometry, Vertex points, Vertices, Vector, Polygon, Polygonal mesh (also know as a "polygon mesh"), Normal, Lighting, Shading, and Texture map.


The first thing that he talks about is shapes.  The main shape for creating 3D graphics is a triangle.  You can see that in the images below.  I never thought about what shape would be the most commonly 3D graphic building block, and I also never thought there would only be one.  I imagined that circles and squares would also be shapes used to create these objects.  The 3D image showing all the triangles is very impressive because you really need to think about the angles of the triangles, and what parts need to be sticking out more than another part.


The second part of the video focuses on lighting.  Lighting is very important to 3D graphics, and he explains why.  He says that lighting is important to get just right and lighting has developed in 3D graphics because it changes the way the object appears.  In addition to lighting, they need normal’s.  Lighting normal’s in 3D programs are altered depending on the object, and they change automatically.  When the light is behind the object, the object appears dark, but when it is in lighting, it changes the effect of how the object looks to us, and perhaps appears more “3D”.


This video was interesting and packed with information.  As I’m learning from this course, there are so many different aspects to creating a 3D virtual world, let alone a 3D graphic itself.  I imagine that software has been developed greatly over the recent years to help developers design these 3D objects and graphics.  Certainly in video games and 3D movies/TV’s, I have seen an enormous growth.  It’ll be interesting to see what 3D graphics grow into in the near future.